
10 tips for photographing your kids and using the DSLR you got for Christmas!

So many of my clients love taking photos of their kids, I mean, who doesn’t? Some of my clients are even photographers themselves, or hobbiests, and I love that. Many though, tell me about their fancy DSLR camera they got when their first child was born and now it sits in the closet. I don’t love that so much haha. There’s probably a few of you who even got new fancy cameras for Christmas this year! You’ve probably played around with it a little over the holidays but feel a bit lost and overwhelmed with all those button and dials. This is when that DSLR gets moved to the closet!
So, I thought I would write some tips to help you out! Everyone is going to have different goals but my hope is some of these will get you using that camera and creating the images you are hoping to! While I think professional photography is important for a whole bunch of reasons, and mom shouldn’t always be behind the camera, I also think capturing all of the in-between moments is just as important!
So here are my tips for using that new DSLR (or the one that’s been sitting in your closet for 2 years) and photographing your kids:
-
Read the manual.
Seriously, read the manual. I know, I know, who reads manuals, but you guys, this thing is written in such an easy to understand way and it doesn’t just tell you what all the buttons do, it usually tells you how they apply to it in real and simple photography situation. Seriously, if you only take one tip from this list, let it be this one!
-
It’s totally OK to put the camera on auto mode and just capture the moment!
With such a fancy camera and so many buttons and settings, it can feel wrong to just throw it on auto and hope for the best, and yes, if you were a professional, it would be a questionable choice, but for you, if it means the difference between taking the photos, capturing the moments and enjoying the memories, or getting frustrated, missing the moments and ending up with black or blurry photos, there’s no shame in auto mode. Yes, I do want you to find time to take the camera off auto mode, practice with different settings, see what different adjustments can create, but Billy’s first birthday is probably not the time if you aren’t very confident, and that’s OK!
-
Learn about the exposure triangle.
If you are ready to get just a tiny bit technical and take that camera off manual mode, the first thing you will want to familiarize yourself with is the exposure triangle. Really, it’s the foundation of every decent photograph. Depending on your camera, your manual might even go into this a little (see tip #1!), but if it doesn’t or you need a different explanation, here is a great read: Learning About Exposure – The Exposure Triangle.
-
Turn off the flash.
I know that can sound a little counter productive, especially when trying to produce bright, beautiful images, but the thing is, the little flash that pops out of the top of your DSLR creates unflattering harsh light, pointed directly at your subject, often creating that deer in the headlights look. It’s just not great. You will do far better to look for other sources of light, like moving closer to a window, or using your camera’s settings to better handle less light (see tip #3!) This photo of my son uses no flash, but an increased ISO and low aperture.

-
Get down on your kids’ level.
OK, so I was starting to get a bit technical there, so let’s shift to more general tips, you should even practice these when using your cell phone! Getting down to eye level of the tallest child in the photo will instantly make your photos look a whole lot better! For this photo pf my son, I got down on my knees, in the cold, on the pavement. It hurt my old knees but totally worth it!

-
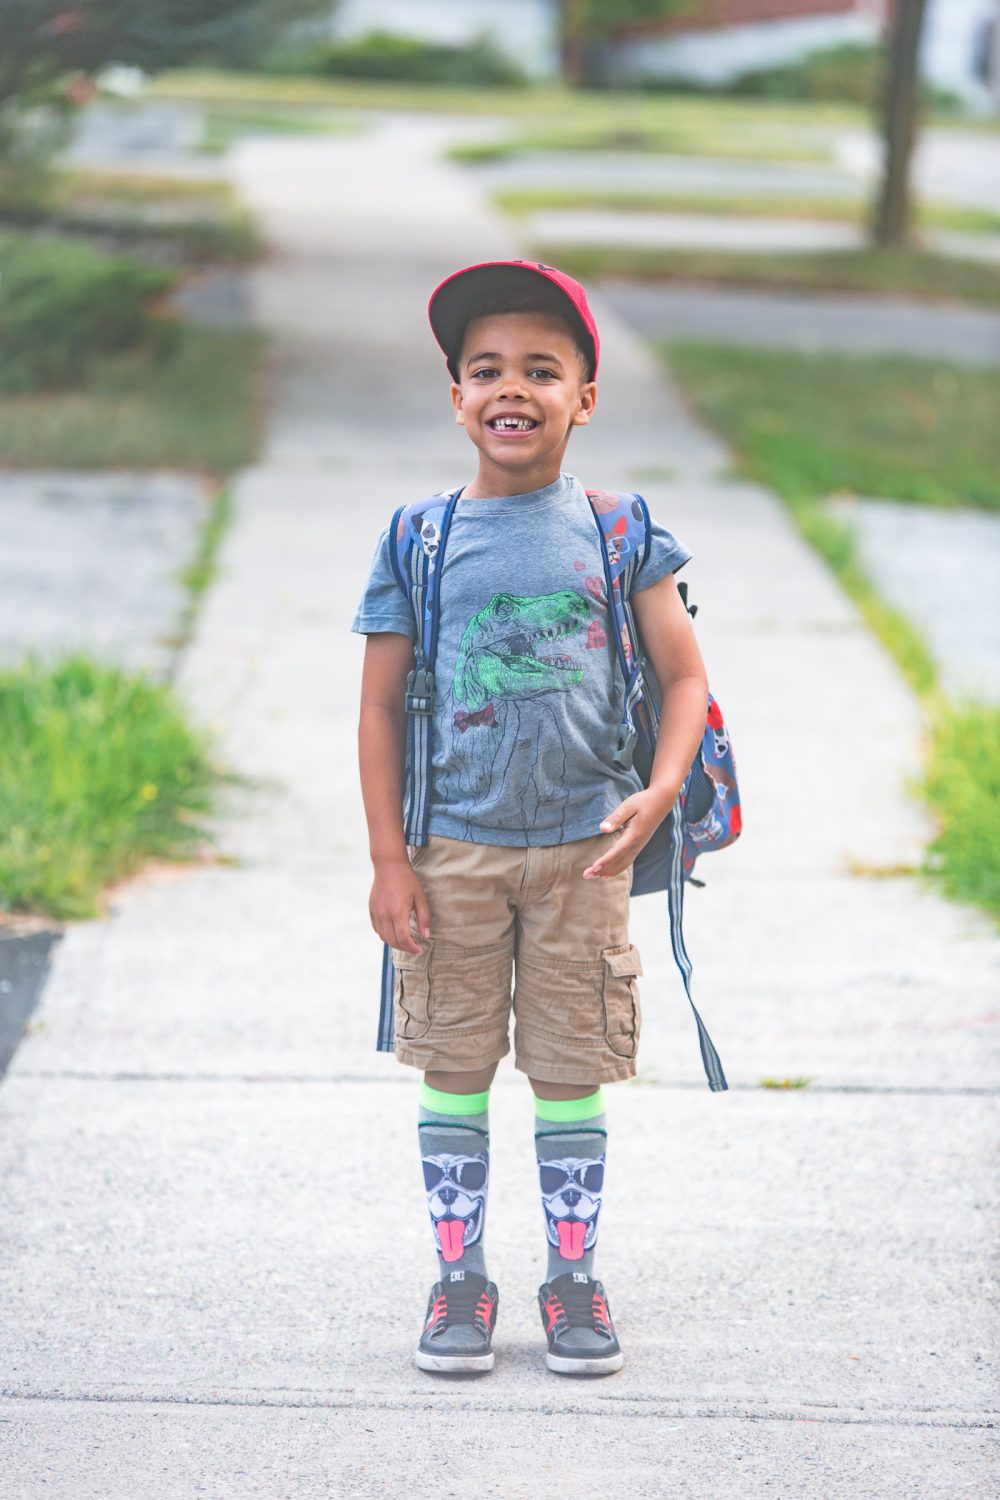
Simplify the background.
If you have time, clear clutter from the background of where you are going to shoot. If this is an outside shot or more spur of the moment, adjust your angle so that the direction you are shooting in has a less busy background. For this shot, I stood at an angle that made sure not to include the cars in everyone’s driveway to the left and the blue boxes that were out on the right. Simplifying all the extra stuff that could have been seen in the background helped bring the focus on my son and the toothless grin of his on his first day of school!
-
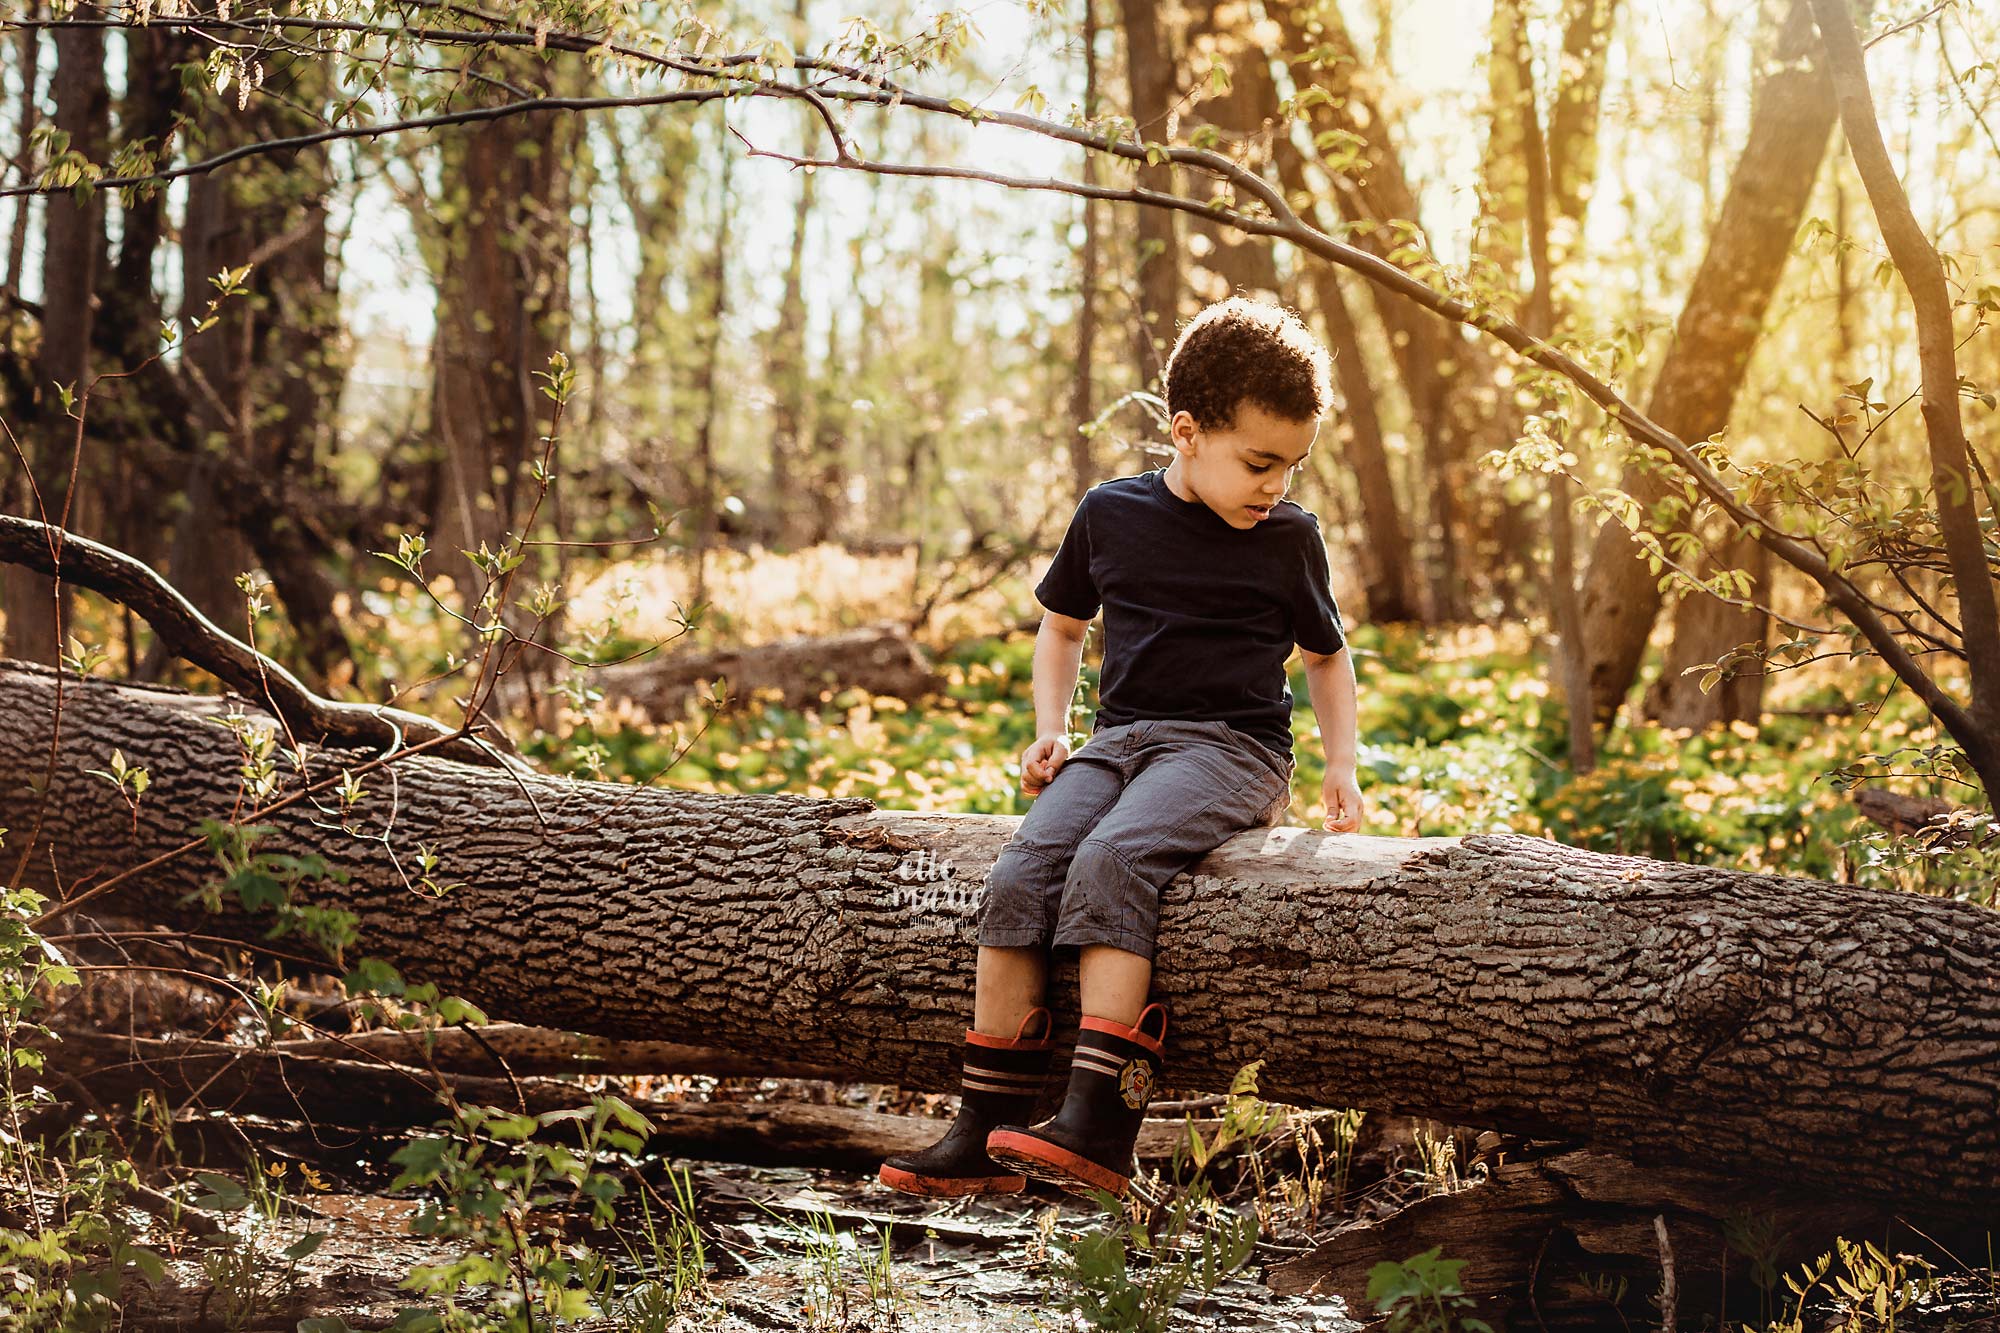
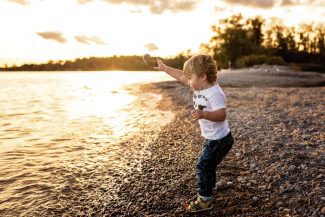
They don’t have to be smiling!
I mean, I love a toothy, smiley grin from a kiddo just as much as the next person, but sometimes the very best photos aren’t the ones with the smiles. Seeing a child’s true feeling and emotion in a moment can make or break a photo. Heck, sometimes we don’t even need to see their face at all. Let’s keep it real, no one smiles all the time! For this image of my son it felt far more authentic to capture him while looking around and exploring that yelling “say cheese!” at him.
-
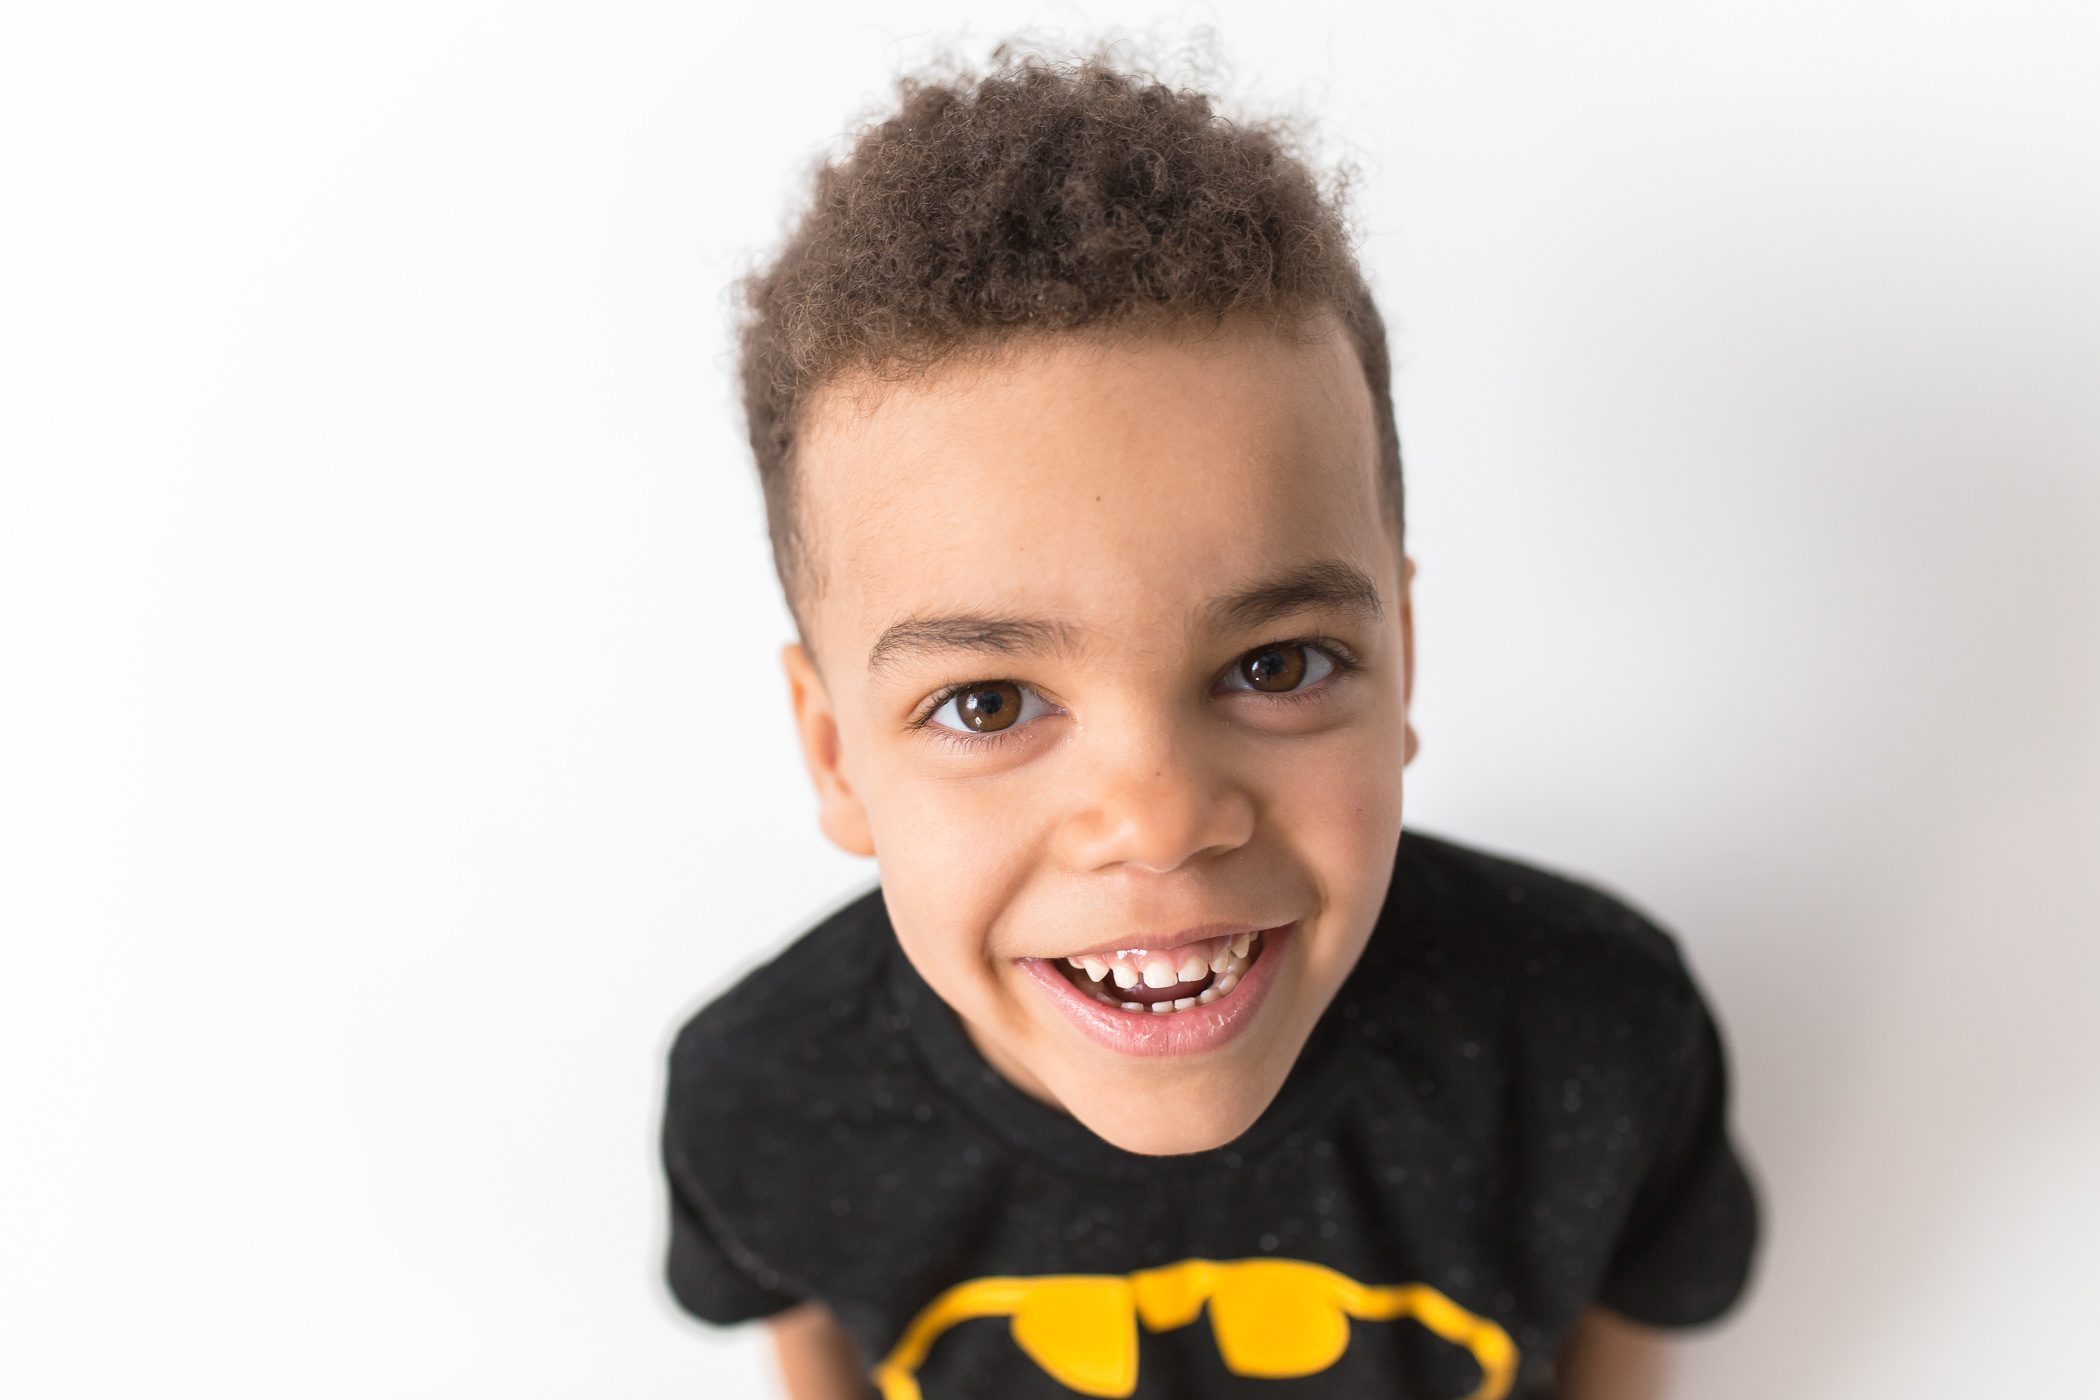
Focus on their eyes.
Sure, there are times this rule should be broken but for most of the time, you want your focus point to lock on their eyes. Your fancy DSLR may have 52,938,943 focus points, use the one that falls over their eyes! If you want to take this a step further, try to get “catchlights” in their eyes. This is when some light is hitting their eyeball and creating that little glimmer in their eye. It adds life and sparkle to their eyes! In this photo you can see the focus is on his eyes and things like the ears, shoulders and hair fall off into blurriness. You can also notice the little white specks in his eyes from the window light, which are the catch lights.
-
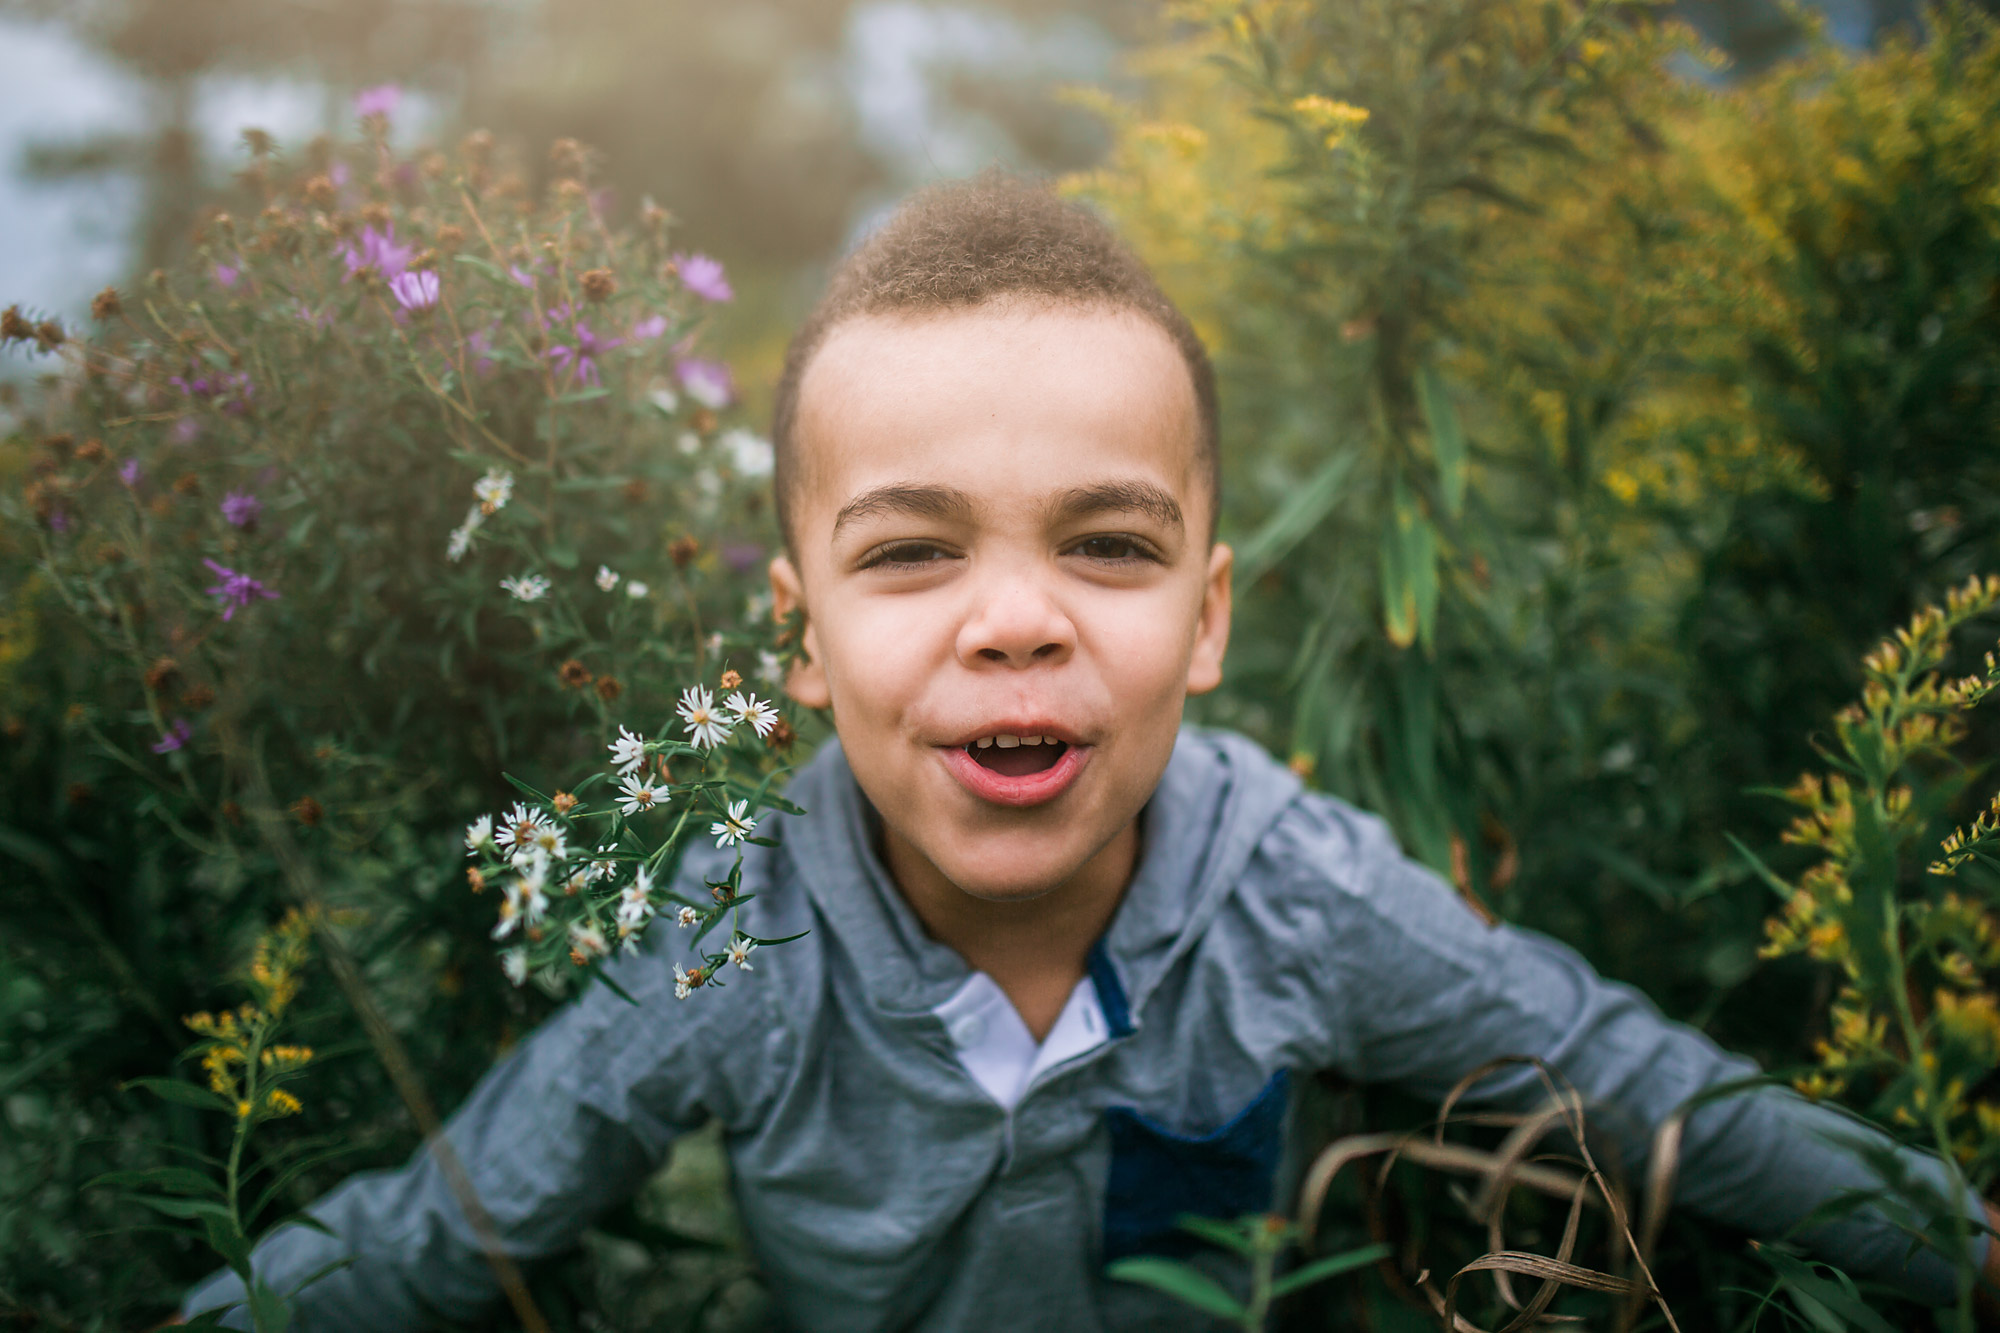
Increase your shutter speed.
If you find a lot of your photos are coming out blurry, it could be because kids move A LOT and FAST. You have to make sure your shutter speed is high enough to freeze these movements. If you are having this problem, but full manual mode isn’t something you are ready for yet, you might want to check out Shutter Priority mode. This is a step up from setting your camera on auto, where you tell the camera how fast to make the shutter, and then it will determine the other settings needed to create the best exposure it knows how. Again, refer back to Tip #1 to find out a little more and how to set your camera to do this! In this photo my son was bursting through the weedy flowers at me, so I had to be quick and use a fast shutter speed to freeze that movement!
Get Ready for the most important tip….
-
Print your photos.
I can’t stress this enough. 25 years down the road you don’t want your kids to have to go shuffle through some old hard drives to maybe find some photos from their childhood, or worse, have none! Make a point every few months or at least every year to get some printed off. Keep an album like back in the day, or use one of the great services out there that can print directly to books now, like chatbooks. Get a few printed to hang on your walls or sit on a desk. Whatever you choose to do, just print some. I think a lot of people get overwhelmed because we do take so many photos these days, how could we ever print them all?? But it doesn’t have to be all of them. Choose a few key moments, special memories, and a few of the in between moments and get them printed! Here’s what I do, a few times a year I will print off a handful of the really special ones. I put a few in frames around the house, share them with the grandparents and put some in a memory album I have for my son. And then, once a year, right after his birthday I also create a chatbook, documenting the year. Chatbooks are great, they can pull right from your phone, Instagram, or Facebook and they make a nice simple book, with one image per page. No fussing with layout and fonts and all that extra stuff that can overwhelm us, just a nice simple book showing the photos we choose to include. I tend to pull most of my photos from my personal Instagram because if it’s not on Instagram, was it really that special? hahaha. But you can do it however you like, the point is keep it simple and just get it done!
I hope all of these tips can help you get a little more comfortable with your camera and take some great photos of your kids. I’m always happy to answer any questions, so please feel free to shoot me an email if you need any help!
Comments are closed.
